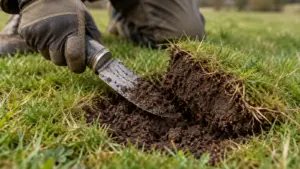
How to Dig in Rocky Soil When Metal Detecting
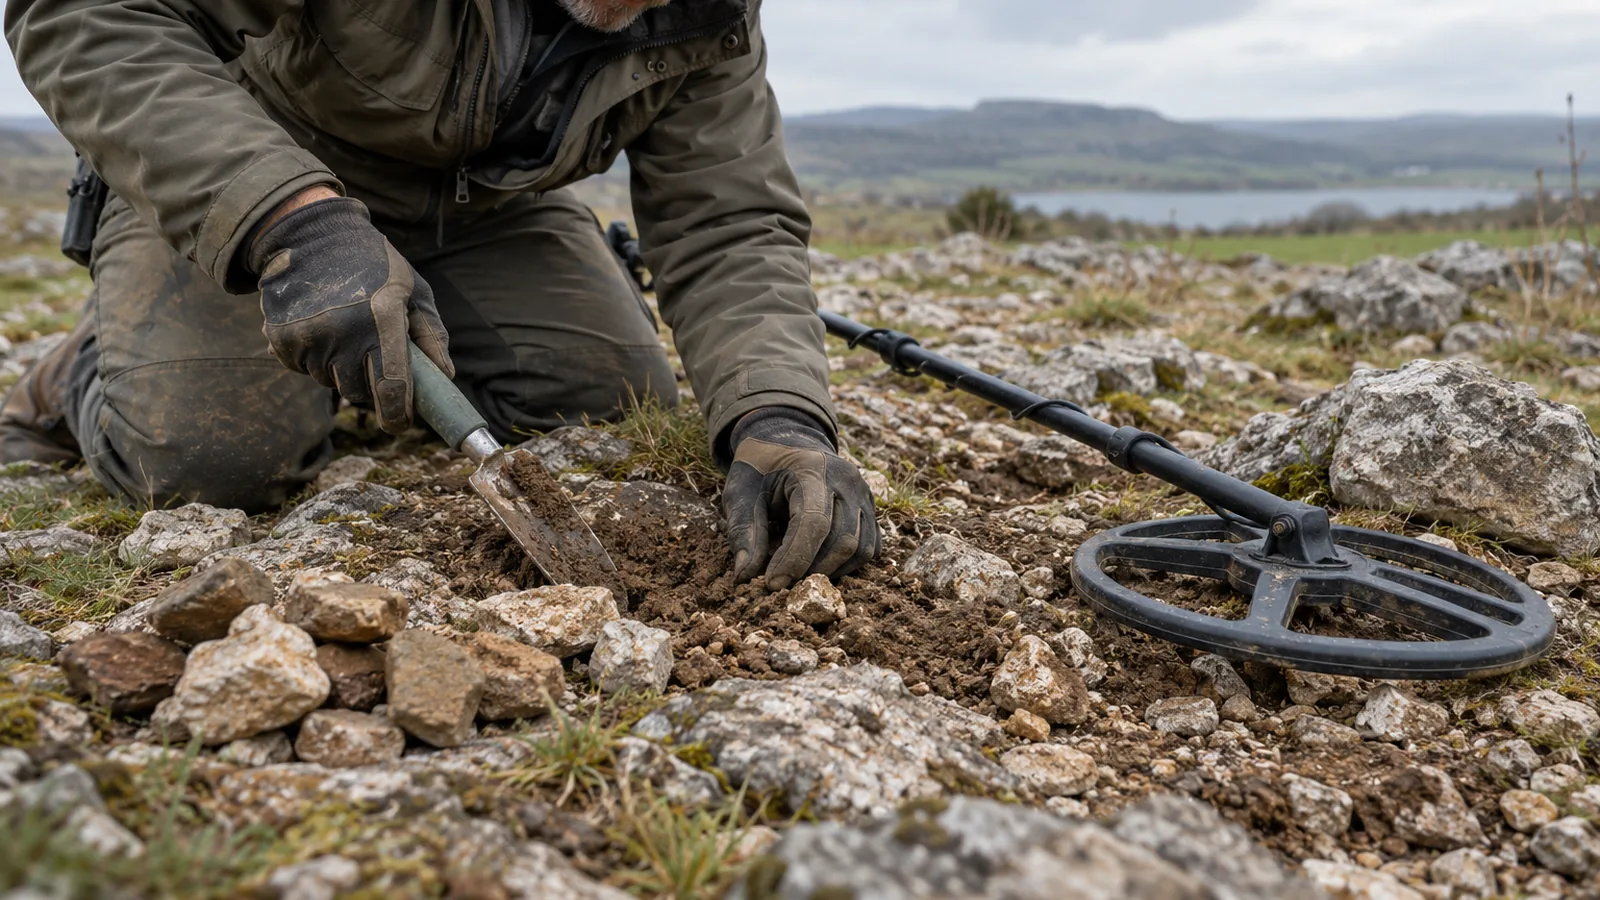
Work slowly when deciding how to dig in rocky soil when metal detecting: pinpoint the target from at least 2 directions, clear loose surface stones, then remove soil in small amounts while checking the hole and spoil. Start about 100 mm (4 in) in front of the target. If a rock blocks safe progress, don’t force the tool against it.
How do you dig in rocky soil when metal detecting?
Quick answer: Pinpoint the target from at least 2 directions, clear loose stones, and remove soil in small amounts. After each pass, scan the hole and spoil, including the hole’s walls; if the signal remains, dig a little deeper and scan again. Use a broad-bladed pick for hard ground, and stop if a rock or unseen obstruction makes digging unsafe.
- 1. Pinpoint: Cross-check the signal from at least 2 directions, clear loose surface material, and scan again.
- 2. Choose a tool: Use a pick with a broad scraping blade for hard ground; a crowbar is an option for very deep objects, with no universal depth cutoff.
- 3. Dig carefully: Begin about 100 mm (4 in) in front of the target and remove soil in small increments.
- Rescan: Sweep the coil over the hole and spoil after each pass, checking the walls and bottom.
- Recover and restore: Use a handheld pinpointer if the hole or crevice is too tight for the coil; after recovery, check for additional targets, refill the hole, restore the area, and take recovered rubbish away.
Dig for a Target in Rocky Soil
Pinpoint the target from two directions. Cross the signal from different angles, then note its clearest location. Move your detector coil away from nearby metallic tools before rescanning, since they can affect detection.
Clear loose surface material. Move loose stones and debris by hand, then scan the exposed surface again before digging.
Choose a tool for the ground. Use a hand tool that lets you remove soil in small amounts. A crowbar is listed for very deep objects in hard ground, but there’s no universal depth cutoff; don’t force any tool against an unseen obstruction.
Start beside the target and dig in small increments. Begin about 100 mm (4 in) in front of the target to lower the chance of striking it, then remove a little soil at a time. Keep the tool clear of the target’s marked location as you open the soil.
Check the hole and spoil after each pass. Sweep the coil over both, checking the walls and bottom of the hole. If the signal remains, dig a little deeper and scan again; the target may be in a sidewall instead of at the bottom.
Use a pinpointer in a tight space. If the hole or a crevice is too confined for the search coil, a handheld pinpointer can help locate the target and may limit further excavation. Keep metallic tools away from the coil when you rescan.
Recover the target and close the hole. Once exposed, lift the find carefully rather than levering against it. Recheck for additional targets, refill the hole, restore the surface, and take recovered rubbish away. For a turf plug, place it on a cloth, put excavated soil on the plug, replace loose soil, fold the plug back, and press it into place.
| Step | Distance (mm) | Distance (in) |
|---|---|---|
| Start digging in front of the target | 100 | 4 |
Choose a Tool for Rocky Ground
For rocky ground, a pick with a broad scraping blade is the supported choice for breaking and moving hard soil. A crowbar is listed for very deep objects, while a serrated edge digger may be difficult to use in extremely rocky ground.
Choose by the ground and the work: use a broad-bladed pick for hard soil, and consider a crowbar only for a very deep object. No universal depth cutoff determines that choice, and rocky ground alone doesn’t make a crowbar the default tool.
Garrett cautions that its serrated Edge Digger can be challenging in extremely rocky ground and is better suited to softer soil and smaller rocks. That makes it a poor fit for the hardest, rockiest conditions described here, though the source doesn’t compare it with other digger designs.
Keep the tool under control, and don’t force it against an unseen obstruction when underground conditions are uncertain. If you use a metallic digging tool, move it away from the search coil before rescanning, since nearby metal can affect detection.
The available guidance doesn’t establish a general best tool for every rocky site or specify tool dimensions, materials, or reach. Match the tool to the ground, work carefully, and stop if continued digging is unsafe or not permitted.
What If the Target Is Beside a Large Rock?
If the target signal is beside a large rock, recheck it from two directions before deciding where to dig. Clear loose surface material, then scan again; if you use a metallic pinpointer or digging tool, move it away from the search coil before rescanning because nearby metal can affect detection.
If the signal remains, use the changed scan results to reassess where the target may be. Pinpoint from at least two directions, but no safe method for excavating beside an immovable rock is specified. The signal may come from a sidewall rather than the bottom, so check both.
A handheld pinpointer may help locate a target in a narrow crevice that the search coil cannot fit into, potentially limiting excavation. If the target remains in the ground, dig a little deeper and check again only if you can do so without forcing your tool against an unseen obstruction.
Stop if you can’t reach the target without forcing a tool against the rock or another unseen obstruction. Also stop if digging isn’t permitted, or if the item may be archaeological or hazardous; applicable rules depend on the land and jurisdiction. The sources give no general maximum digging depth, so whether you can continue depends on the site, your tool’s reach, safety, and permission.
Protect the Find and Restore the Hole
Protect the find by recovering it without scraping it against surrounding stones, then recheck and refill the hole in order. Keep fragile finds uncleaned in the field and use suitable temporary storage, since appropriate care can depend on the find’s burial environment.
If the target is exposed in a tight gap, use a handheld pinpointer to locate it where the search coil won’t fit; this can limit further excavation. Work the target out carefully rather than dragging it across nearby stones. The available guidance doesn’t specify a recovery tool or a method for lifting every kind of find, so avoid force if it’s caught or appears fragile.
After lifting the find, sweep the hole and the removed soil again. Check the walls as well as the bottom, since a target can remain in a sidewall or another target may still be in the hole. Recover any additional targets before backfilling.
For a turf plug, follow this order: place the lifted plug on a cloth, put excavated soil on the plug, replace loose soil, fold the plug back into place, then step on it so it sits securely. This sequence applies to the described turf-plug method; the available sources don’t establish a universal restoration method for rocky ground without a plug.
Restore the disturbed area and take recovered rubbish away. Don’t dig or disturb items where digging isn’t permitted, or suspected archaeological or hazardous items; rules depend on the land and jurisdiction.
Frequently Asked Questions
What should you do if the target is deeper than your digging tool can reach?
For a very deep target in hard ground, a crowbar is one listed option, but don’t force it against an unseen obstruction. Continue only if you can reach the target safely and have permission to dig.
How can you avoid damaging a coin or relic while digging?
Once exposed, lift it carefully rather than scraping or levering it against stones; avoid field cleaning and use suitable temporary storage for a potentially fragile or significant find.
How do you identify whether a signal comes from metal inside a rock?
Pinpoint the signal from at least two directions, clear loose surface material, and scan again; a handheld pinpointer can help in a crevice too narrow for the search coil. Keep metallic tools away from the coil when rescanning, since nearby metal may affect detection.
What should you do if digging near a large rock feels unsafe?
Continue only if digging is safe and permitted; don’t disturb suspected archaeological or hazardous items, and follow the rules that apply to the land.
How can you tell if a rocky site is off-limits for digging?
Check the rules that apply to the land before digging, and stop if digging isn’t permitted. Don’t disturb suspected archaeological or hazardous items, even if a signal marks a possible find.
Conclusion
If you can remove soil in small amounts without forcing your tool against a rock or another unseen obstruction, continue carefully and check the hole and spoil as you go. If the target is trapped beside a large rock, fragile, or unreachable, stop rather than risk damaging it. Your next step is to reassess the signal from two directions; continue only if the target is clear, the tool can reach it safely, and digging is permitted.
Sources
- 404 Not Found | Minelab (minelab.com)
- garrett.com (garrett.com)
- tamdc.org (tamdc.org)
- parts.minelab.com (parts.minelab.com)
- usa.minelab.com (usa.minelab.com)
- minelab.com (minelab.com)
- garrett.com (garrett.com)
- garrett.com (garrett.com)
- saa.org (saa.org)
- sha.org (sha.org)
- archaeologyandconservationcardiff.wordpress.com (archaeologyandconservationcardiff.wordpress.com)