Beach Metal Detecting Tips for Beginners: How to Start
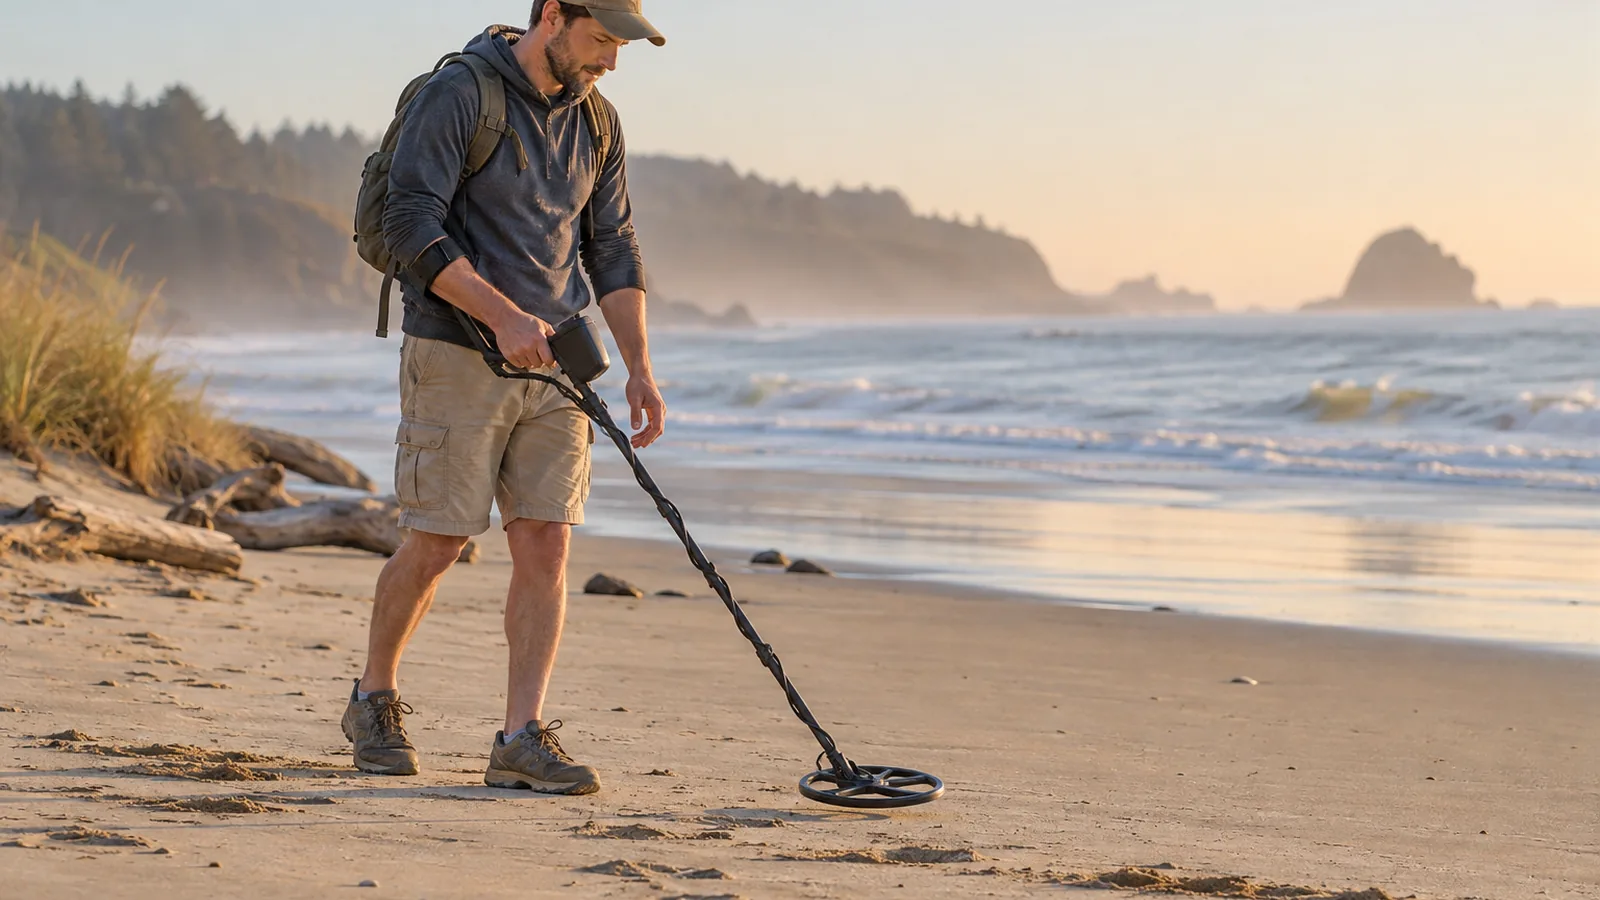
For beach metal detecting tips for beginners, check local rules and your detector’s manual, then start on dry sand with the coil 1–2 in above the surface. Salt can cause noise and false signals on wet sand and in seawater, so move there only if the rules and your detector allow it.
What are the best beach metal detecting tips for beginners?
Quick answer: Check the beach manager’s rules and your detector’s manual before you search. Start on permitted dry sand, then try wet sand or shallow water only if your detector and local rules allow it; salt can cause noise and false signals.
- Keep the coil level about 1–2 in above the sand and sweep slowly in straight, overlapping passes.
- Check a signal with an X-shaped sweep, then approach it from another direction before digging.
- Use your hands or a plastic scoop on dry sand; use a long-handled scoop for submerged targets.
- Refill disturbed sand and take any rubbish with you.
- Before entering surf or water, check the detector’s waterproof rating; a waterproof coil alone doesn’t mean its control box can be submerged.
How to Make Your First Beach Detecting Search
Confirm access before you pack. Find out who manages the beach, then check that authority’s rules or ask its park manager; rules vary by location. Metal detecting is prohibited in national parks, and public access doesn’t mean detecting is allowed.
Choose an area where detecting is allowed. For your first outing, start on dry sand, where you can learn your detector’s response before moving to ground affected by saltwater. Check your model’s instructions for the right operating mode; settings differ by detector.
Test and sweep on dry sand. Keep the coil level about 1–2 in above the surface and move it slowly in straight passes, overlapping each pass by ¼–½ of the coil’s diameter. Keep the coil at the same height through each sweep, including at the ends, rather than lifting it.
Check each signal before digging. Sweep over the signal in an X pattern and listen for the loudest point, then approach it from a second direction to narrow down the target’s location.
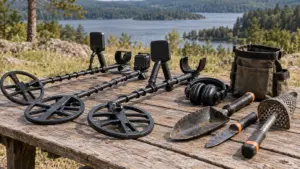
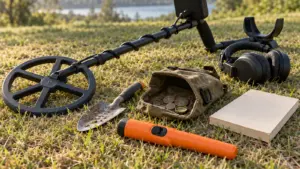
Recover the target with a suitable tool. On dry sand, use a plastic scoop or your hands to remove sand around the target. If you move into shallow water, use a long-handled sand scoop; a pinpointer can help narrow the target’s location in the hole.
Leave the spot in good condition. Refill disturbed sand and take any rubbish you recover with you. Leaving holes or scarred areas can lead to restrictions on detecting.
Pause before entering the surf. Check your detector’s stated waterproof rating and manual before using it in surf or underwater. A waterproof coil alone doesn’t mean the control box can be submerged.
Choose a Beach Zone and Time to Search
Start on dry sand, where it’s easier to learn your detector’s response, then try wet sand or the shallow-water edge only if your model and local rules allow it.
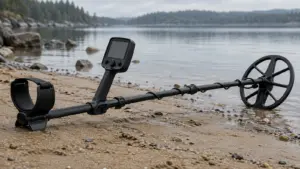
Dry sand is the loose, usually lighter-colored sand above the regularly damp shoreline. Wet sand is darker and firmer where water has recently receded. The shallow-water edge lies under a thin layer of water; check whether your detector can handle it, even if it works on dry sand.
Choose a starting area based on access, beach use, and your detector’s capabilities:
- Dry sand: Begin here if you’re new to the detector. Focus on high-traffic areas such as entrances, steps, boardwalks, jetties, and popular swimming areas.
- Wet sand: Try it after you understand your detector’s signals. Salt can make the ground conductive, so check your manual for a beach mode suited to wet sand.
- Shallow water: Search only if your detector is designed for that use and you have suitable recovery gear. Beach 1 is for shallow water, while Beach 2 is intended for surf or underwater use on applicable models.
Check tide tables rather than relying on a fixed time of day: falling water can expose more beach to search. Storm erosion can also uncover deeper layers and targets, but it doesn’t make a restricted area open to detecting.
When moving between wet and dry sand, ground balance again if your detector’s instructions call for it; this can prevent false signals.
Adjust Your Detector for Sand and Saltwater
Adjust your detector for the sand you’re searching, and follow your model’s manual rather than copying another detector’s settings. For beach metal detecting tips for beginners, the key is to account for salt: salt in wet sand and seawater can make the ground conductive, which may cause detector noise and false signals.
Choose a beach mode suited to the conditions. SIMPLEX Beach mode is for salty wet sand, while other modes are for dry sand. Beach 1 works on wet or dry sand and in shallow water; Beach 2 reduces transmit power to manage a stronger salt response and is intended for surf or underwater use. Modes and instructions vary by detector model, so check your manual.
Rebalance when you move between wet and dry sand if your detector supports ground balancing. The change between zones can cause false signals, and Nokta advises ground balancing after you change zones. If your detector starts chattering after the move, check the manual for its ground-balance procedure rather than assuming every signal is a target.
Check the detector’s stated waterproof rating and manual before taking it into surf or underwater. Use only the water mode and depth your model’s instructions permit.
Beach Detecting Quick Reference
| Beach zone | What to know | Check before searching |
|---|---|---|
| Dry sand | Nokta recommends modes other than Beach mode on dry sand; Minelab describes Beach 1 as suitable for dry sand. | Confirm the mode in your detector’s manual. |
| Wet sand | Salt can make sand conductive, causing noise and false signals. Nokta advises ground balancing when moving between wet and dry sand. | Confirm your model’s beach mode and ground-balance instructions. |
| Shallow water | Minelab describes Beach 1 as suitable for shallow water. | Check the detector’s waterproof rating and manual; a waterproof coil alone doesn’t mean the control box can be submerged. |
| Surf or underwater | Minelab describes Beach 2 as intended for surf or underwater use. | Verify that the detector’s stated waterproof rating covers your planned use. |
The main dividing line is your detector’s stated capability, not simply how close you are to the water: salt-related noise can affect wet sand, and submersion limits depend on the model. Local access rules are a separate check from equipment suitability; identify who manages the beach and ask that authority about its rules.
Frequently Asked Questions
What is the best metal detector for beach beginners?
Choose a detector whose manual supports the beach zones you plan to search, then start on dry sand while learning its signals. Salt can cause noise and false signals in wet sand, so don’t move there until you know how your model handles beach conditions.
What accessories do I need for beach metal detecting?
For dry sand, bring a plastic scoop or use your hands; a pinpointer can help narrow down a target in a hole. If you plan to search submerged areas, use a long-handled sand scoop, and confirm your detector is rated for that use before entering the water.
How do I clean my metal detector after beach detecting?
Follow your detector’s manual for cleaning, and keep the control box out of water unless its stated rating permits submersion.
Can I use regular headphones with a beach metal detector?
Yes, if the headphones are compatible with your detector and suitable for the conditions you’ll search; check the manual before using them near water.
What should I do with trash I find while beach detecting?
Take rubbish you recover with you, and refill any disturbed sand before leaving the spot. Leaving holes or scarred areas can lead to restrictions on detecting, so restore the surface as you go.
Conclusion
If you’re new to your detector, choose an allowed dry-sand area and practice slow, overlapping sweeps before trying wet sand or shallow water. Move closer to the water only if local rules permit it and your manual confirms your detector can handle the conditions. Your next step is to identify who manages the beach, check its rules, and read your detector’s instructions before you pack. During the search, recover targets carefully, refill disturbed sand, and take rubbish with you.
Sources
- garrett.com (garrett.com)
- deq.nc.gov (deq.nc.gov)
- home.nps.gov (home.nps.gov)
- nps.gov (nps.gov)
- noktadetectors.com (noktadetectors.com)
- usa.minelab.com (usa.minelab.com)
- usa.minelab.com (usa.minelab.com)
- usa.minelab.com (usa.minelab.com)
- usa.minelab.com (usa.minelab.com)
- pa.gov (pa.gov)
- parks.wa.gov (parks.wa.gov)
- garrett.com (garrett.com)
- minelab.com (minelab.com)
Metal Detector Spec Selector Quiz
Filter 53 metal detectors by weight limit, water use and frequency band, then compare their specs side by side.
Beach & Water Hunt Waterproof Depth Checker
Compare your metal detector's stated waterproof rating with your planned beach or water hunt, checking detector, coil and headphones.